Yes, you can make rich and creamy homemade Greek yogurt without fancy equipment! While electronic pressure cookers have a yogurt button, you only need a Dutch oven—or your heaviest pot—to create this nutrient-packed staple on your stovetop.
Why Homemade Greek Yogurt?
Homemade Greek yogurt is fresher, more economical, and customizable. This stovetop method produces a thick, tangy yogurt that’s perfect for meal prep. Sweeten it with vanilla, honey, or fruit preserves, or make it savory with fresh herbs like mint or dill for dips and sauces.
A Zero-Waste Kitchen Staple
The best part? This is a no-waste recipe. The leftover whey can be used in smoothies, soups, baking, or even as a marinade for meats. With one batch, you’ll have a high-protein, probiotic-rich base for breakfast bowls, cooking, or snacking.
iBuen provecho!
We independently select all of the products we feature on Domestic Gourmet and may earn an affiliate commission when you purchase through links on this site.
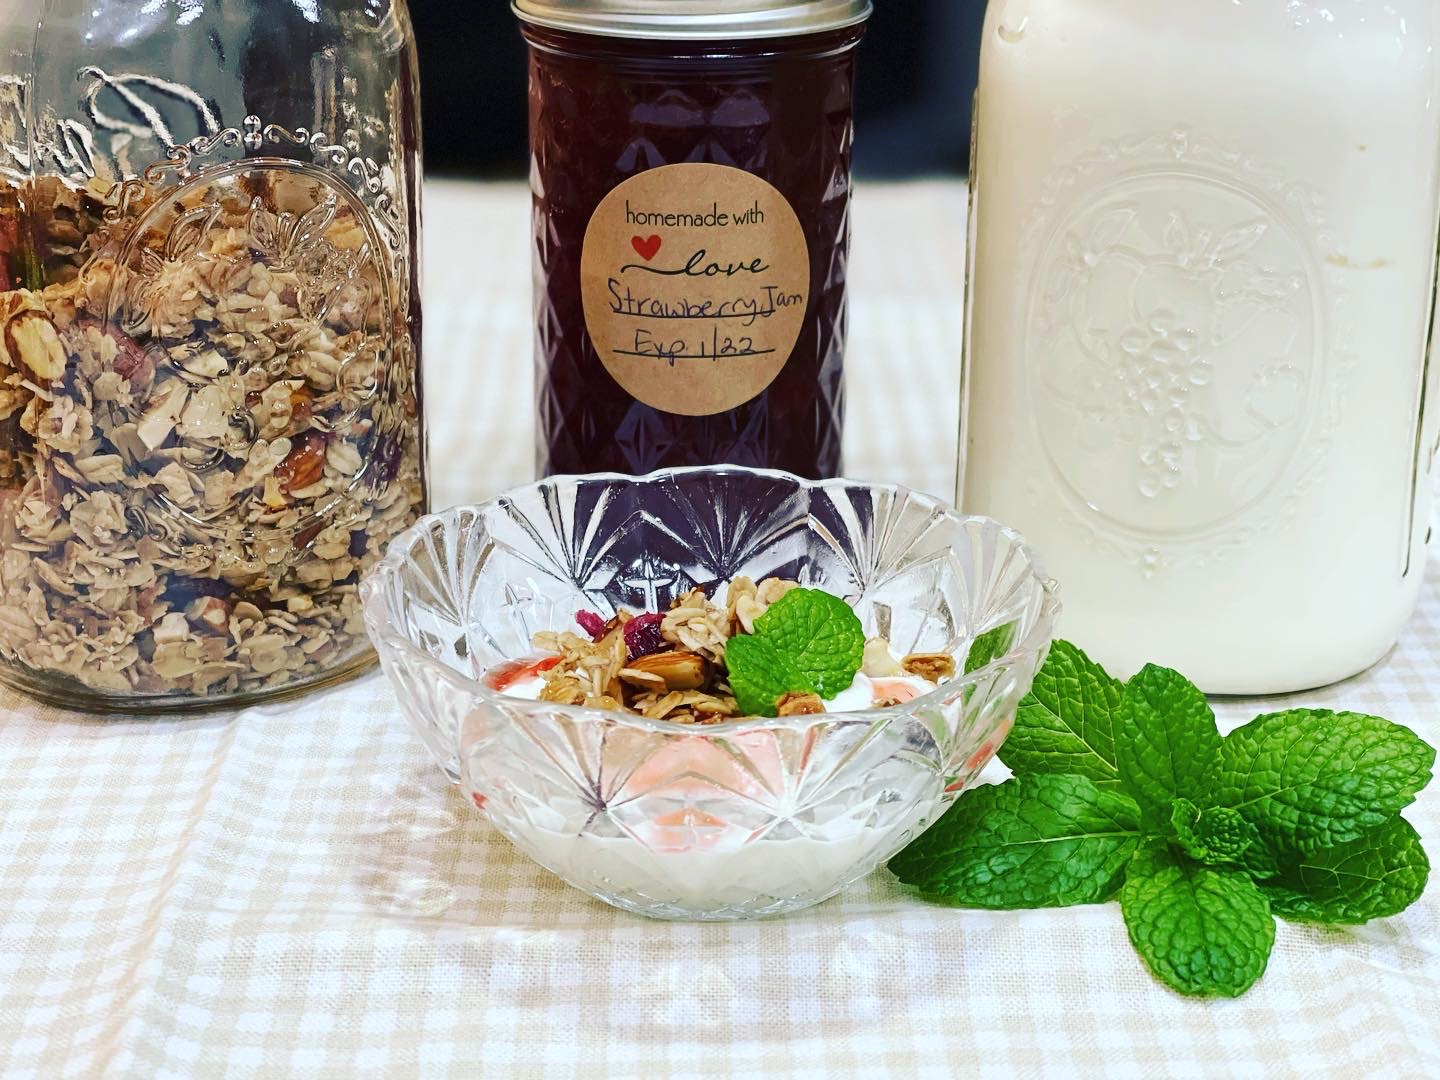
Homemade Greek Yogurt
Equipment
Ingredients
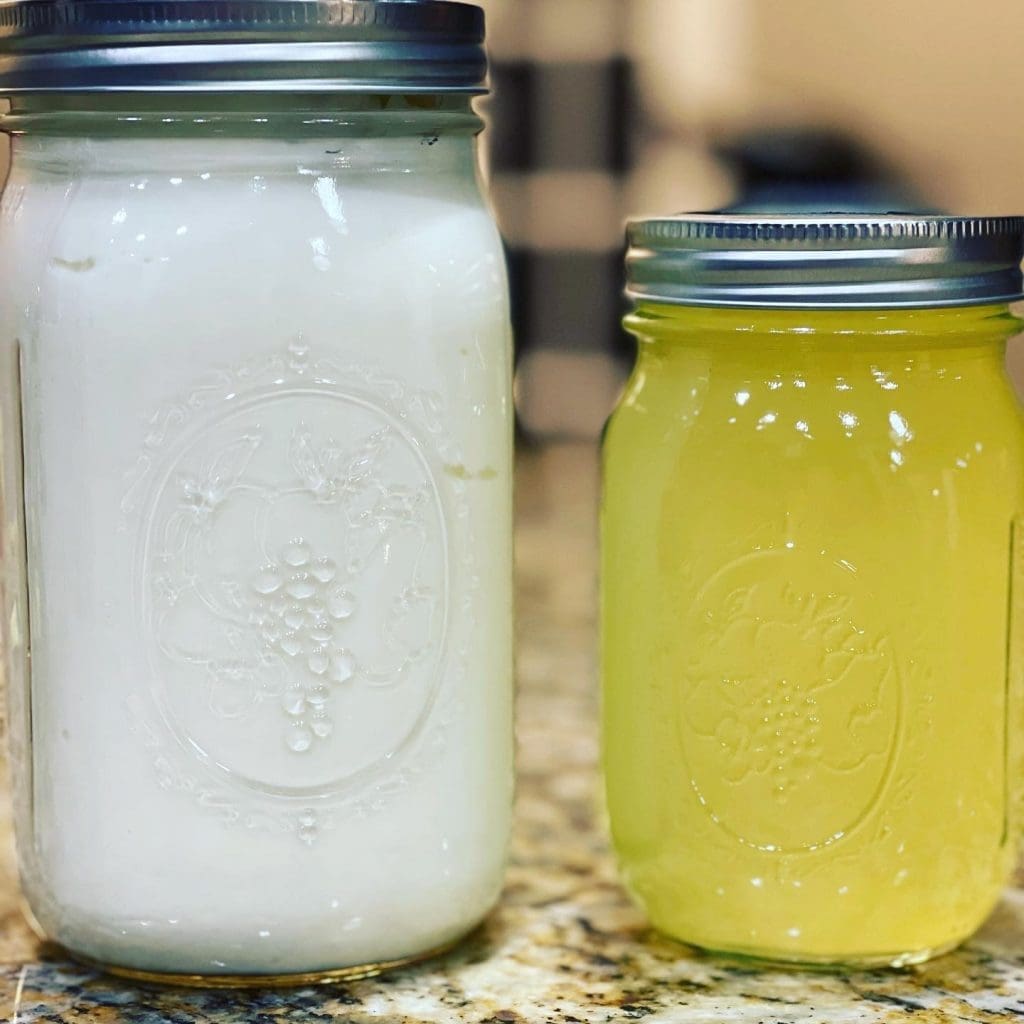
- 2 qt Whole milk preferably Organic grass-fed milk will result in a more neon whey byproduct, as pictured above.
- ½ cup Heavy cream Recommended if you use skim or 1% milk, otherwise, it's not needed when using whole milk.
- 4 tbsp yogurt with live active cultures
Instructions
- In a Dutch oven over medium heat add whole milk or milk of your choice and cream .
- Stir occasionally until the milk reaches 180 degrees.
- Remove from heat and let cool until the milk reaches 120 degrees.
- In a separate bowl, mix ½ cup of warm milk with the live yogurt and add the mixture back to the Dutch oven.
- Let the pot sit for 12 hours in a warm spot. Ideally, your oven with the light turned on.
- Place the fine mesh strainer inside of a large mixing bowl and line with a couple of layers of cheesecloth.
- Pour your thickened yogurt into the cheesecloth-lined strainer and set it in the refrigerator to cool for 4-6 hours, checking after 4 hours to see if it has reached your desired thickness.
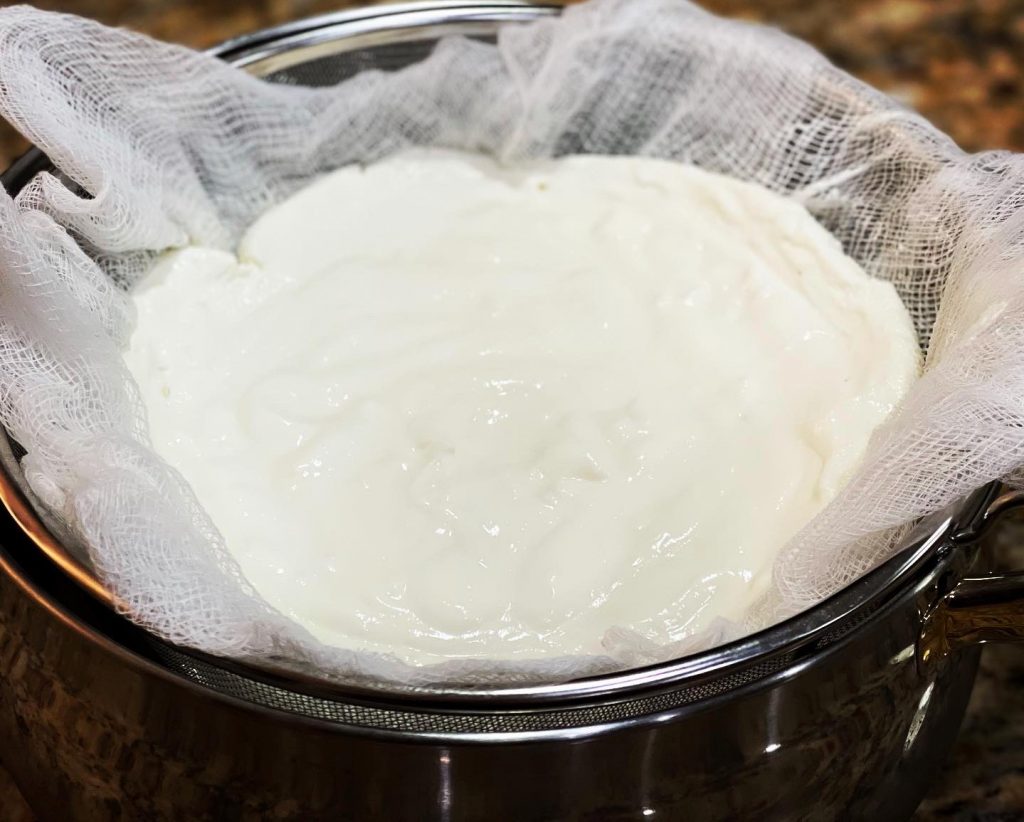
- For thicker yogurt: Let it continue to sit and drain in the fridge.
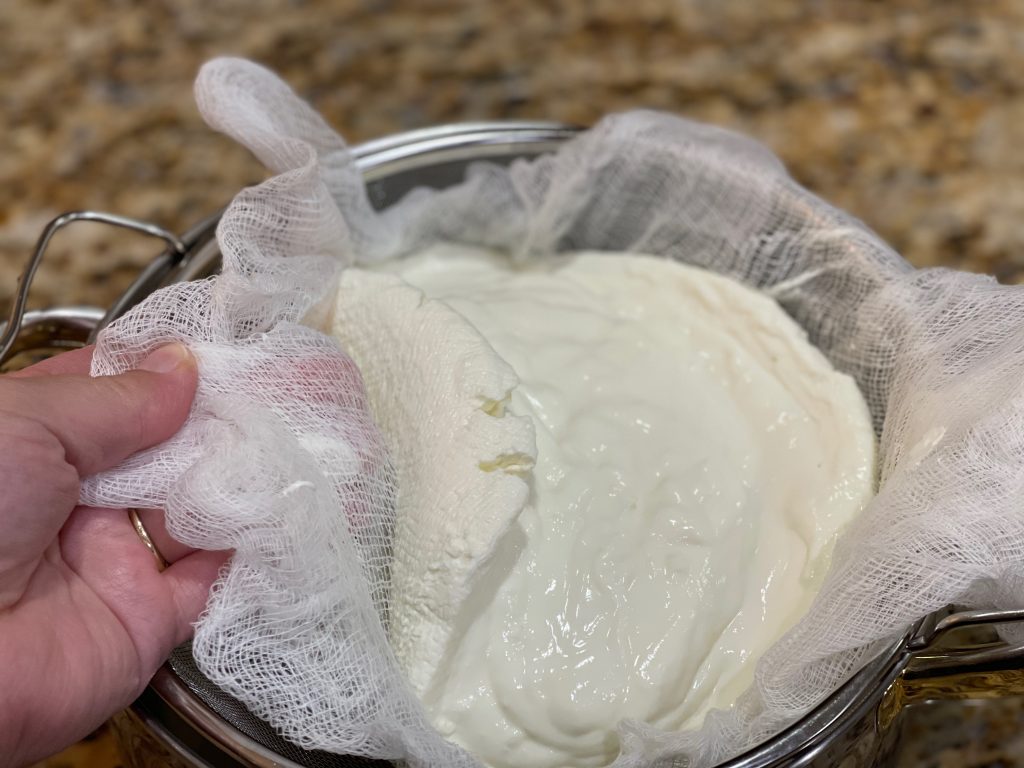
- If the yogurt is too thick: add back in some of the whey. The whey is the liquid that drained into the mixing bowl.
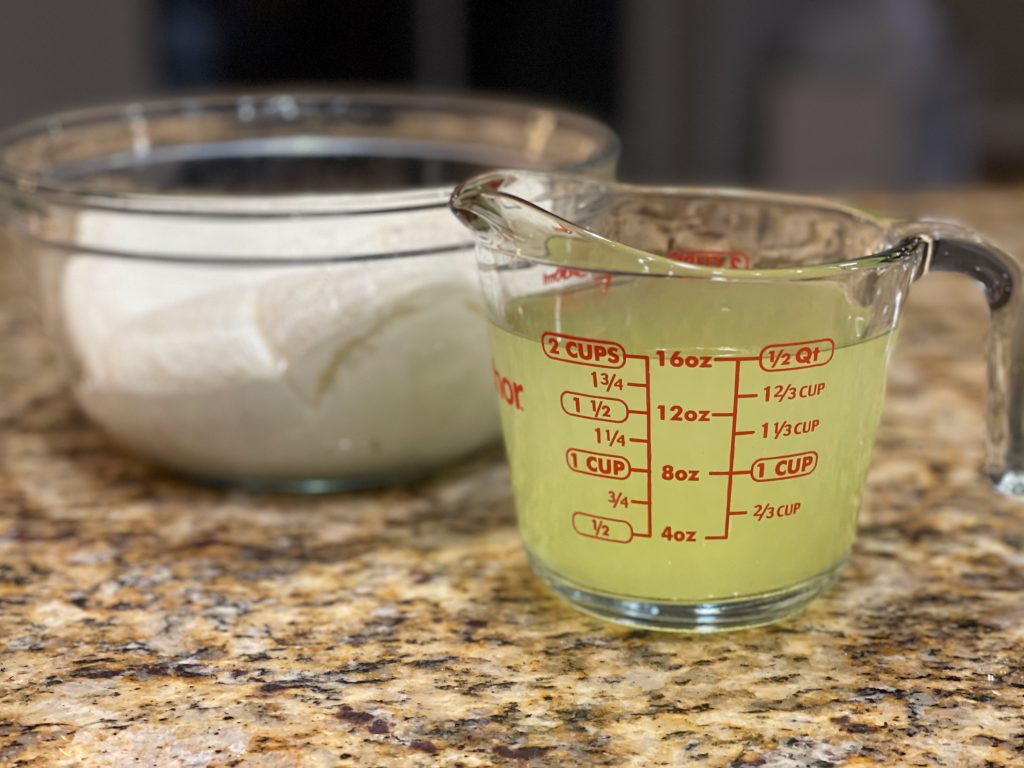
- Uses for the whey byproduct: a water substitute when boiling pasta, potatoes, rice, baking bread and muffins, smoothies, or soups.
Notes
Did you make this recipe?
Please let me know how it turned out for you! Leave a comment below, tag @domesticgourmet on Instagram, and hashtag #domesticgourmet.
About the Author: Ciji Castro
Ciji Castro is the CEO and Executive Chef behind Domestic Gourmet, a premium food and lifestyle brand rooted in honoring ancestral cooking and Latin traditions. With a deep love for bold, heritage-inspired flavors and clean ingredients, Ciji leads the vision and culinary direction of Domestic Gourmet’s product line.
Her flagship product, 🌿 Domestic Gourmet Organic Annatto Oil – Aceite de Achiote, brings vibrant color and flavor to every dish—celebrating the flavors of her Cuban and Puerto Rican roots while meeting the standards of today’s health-conscious kitchens.
Through Domestic Gourmet, Ciji is on a mission to share the richness of cultural cooking with a modern and convenient twist—one thoughtfully crafted product at a time.
Follow along at @domesticgourmet for recipes, cooking tips, and more.

