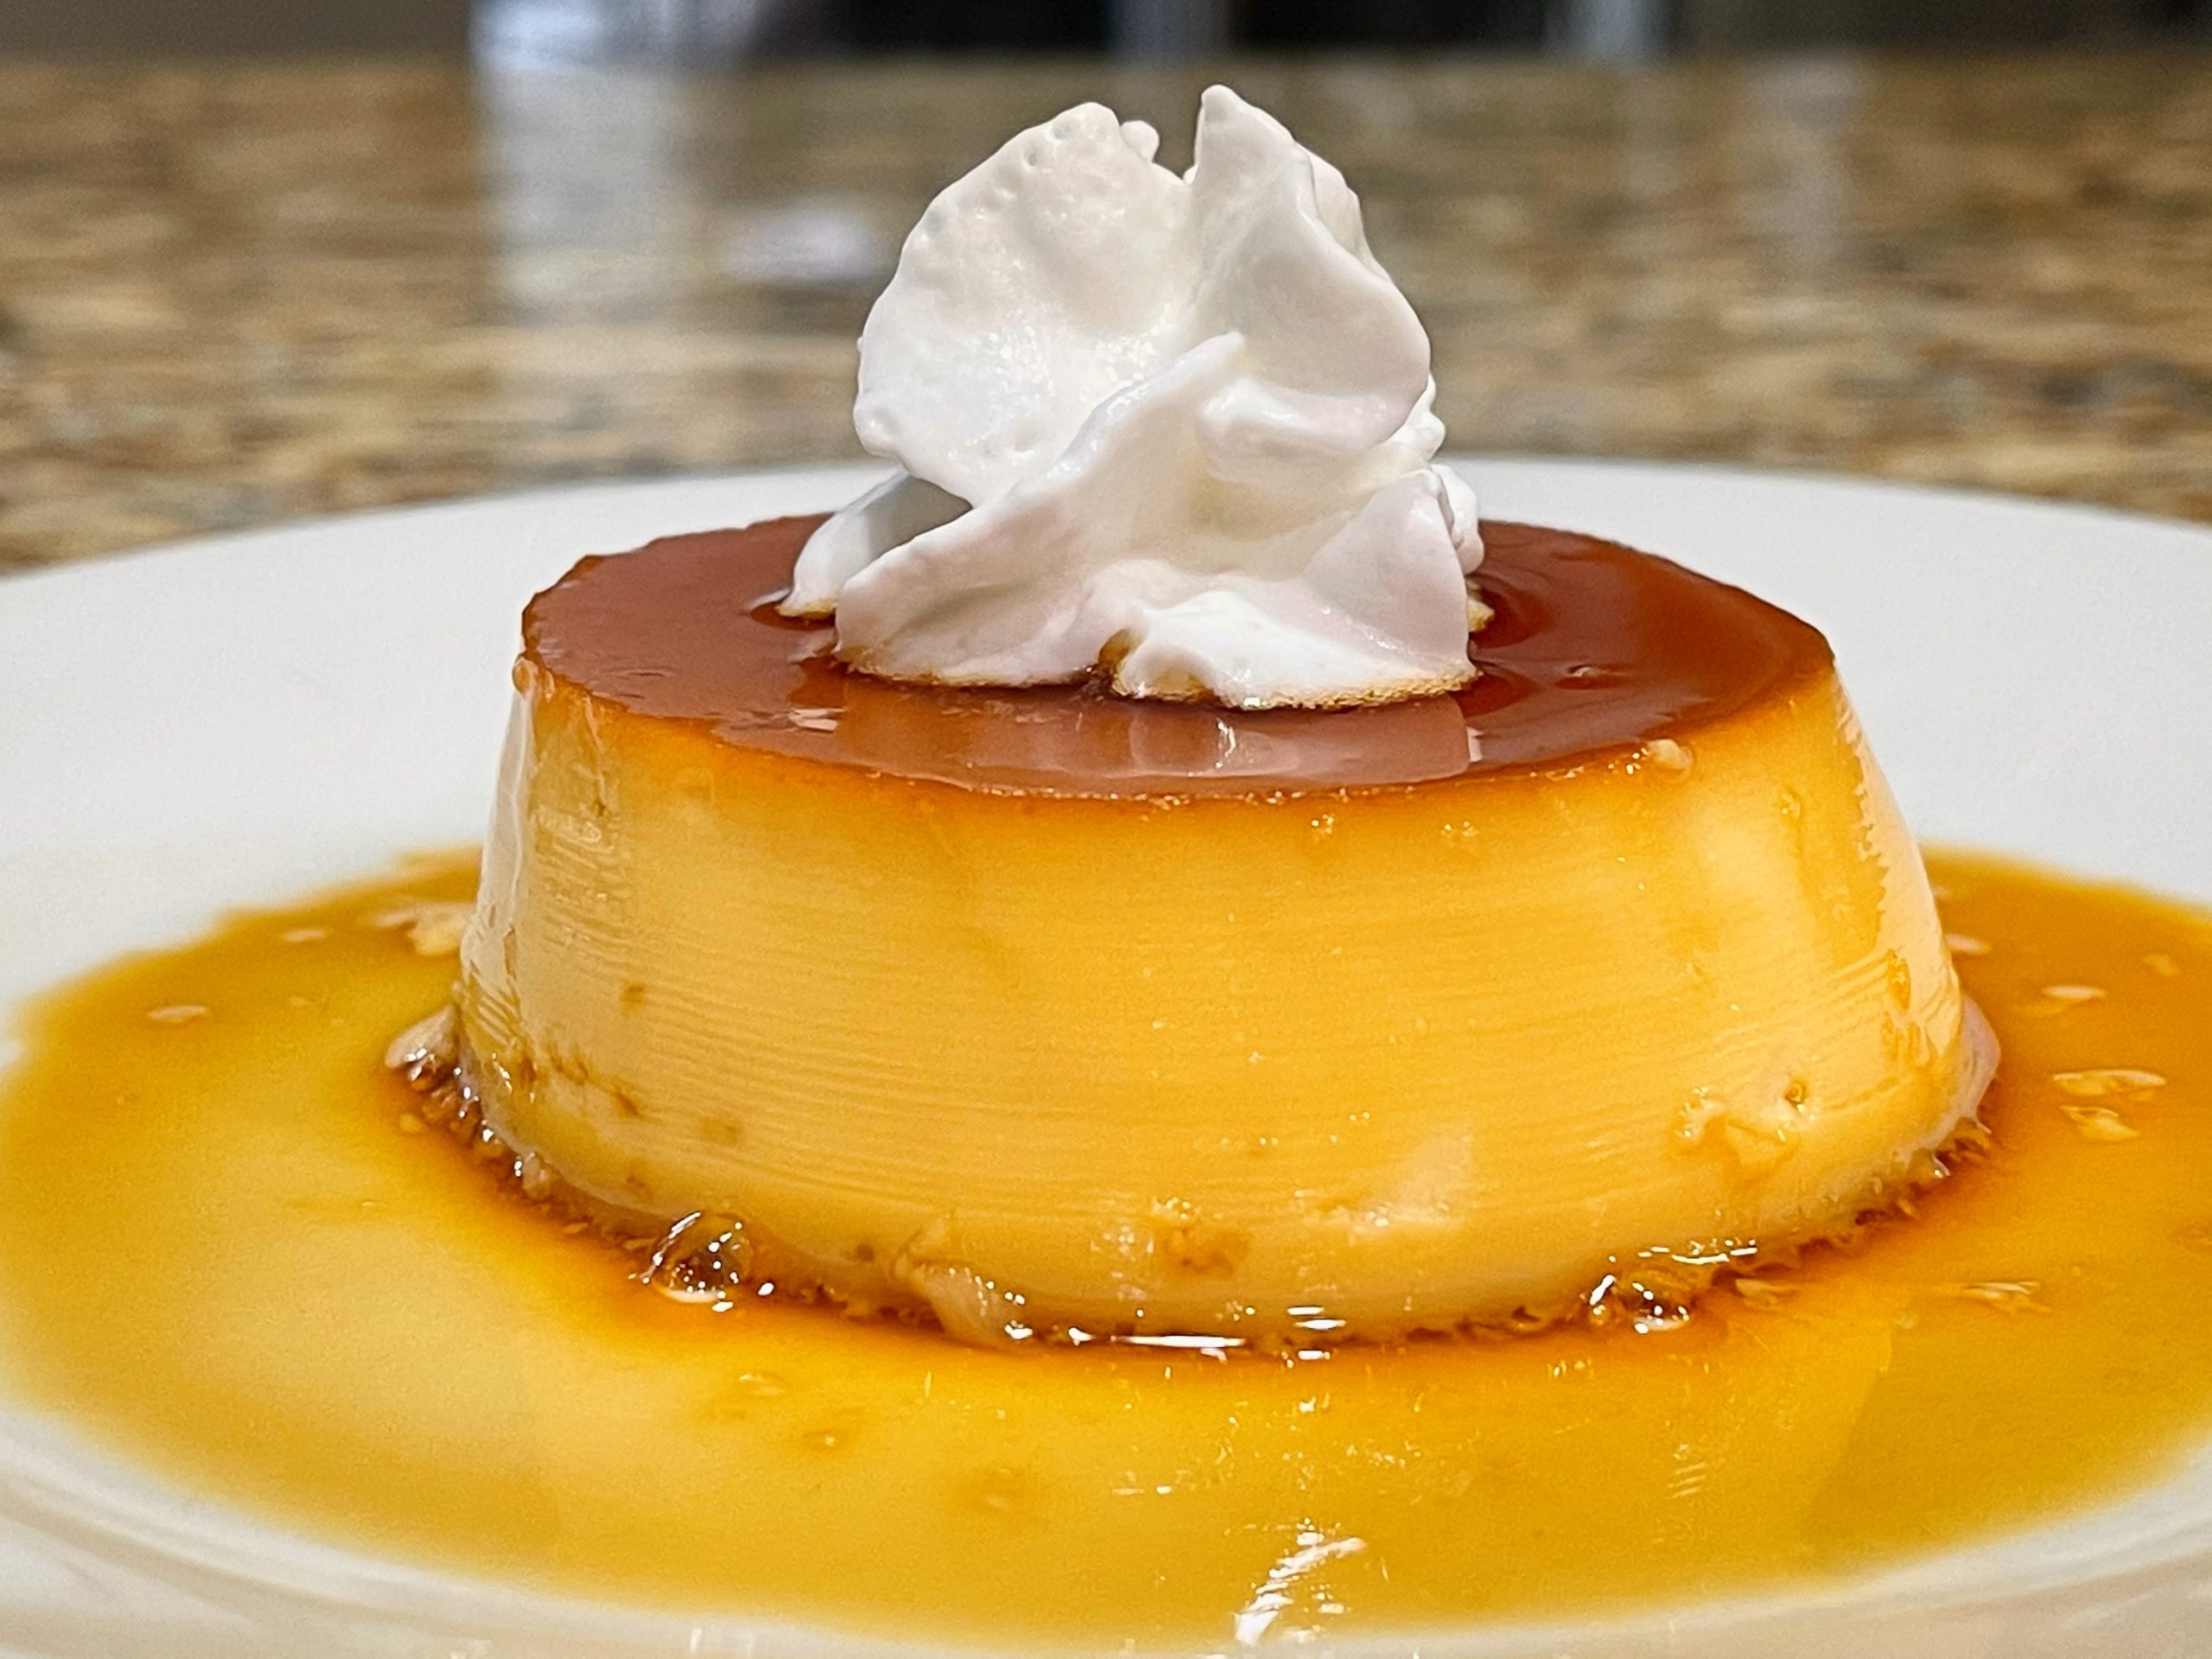
A perfectly velvety vanilla flan that, when baked specifically with attention to detail, won’t have scrambled edges. The end pieces will be as perfect as the center.
Making flan in my family is a source of pride for the one who makes it and makes it well. However, even the best of the best served a flan that might have tasted a bit more “eggy,” or the end pieces were a little too scrambled. It’s happened to all of us. Easy to do when juggling a stove full of pots and pans as you prepare for a family gathering.
Custards can be delicate and need to be kept supervised. Otherwise, you can go from luscious to scrambled in minutes. Make sure you have an instant-read thermometer on hand! Over the years, I have perfected my recipe. Still, it wasn’t until I stumbled upon Cook’s Illustrated recipe for Latin Flan that I learned about monitoring the temperature, and that was the game-changer for me. It leads to a perfectly baked flan every time, and I swear by it now. Whether you prefer individual flans made using ramekins or a large family-style flan using a loaf pan, you will succeed every time with my foolproof recipe.
iBuen provecho!
All products featured on Domestic Gourmet are independently selected. I may earn an affiliate commission when you buy through links on this site.

Foolproof Vanilla Flan
Equipment
- 8½" x 4½" loaf pan (can be substituted with 8-10 small ramekins)
- Tea kettle (can be substituted with a small saucepan)
Ingredients
- ⅓ cup water
- 1 cup granulated sugar
- 2 large eggs Organic free-range eggs will give your flan a more vibrant color.
- 6 large yolks Based on their natural diet, organic free-range yolks can vary in color from rich orange to an almost ruby-red grapefruit.
- 14 oz condensed milk
- 12 oz evaporated milk
- ½ cup whole milk
- 2 tbsp pure vanilla extract
- ½ tsp salt or a pinch
Instructions
- Preheat oven to 300 degrees, turn on your stove to medium-high heat and heat a tea kettle or small saucepan full of water to a simmer.
- Add your water and sugar to a 10" pot and leave to boil over medium-high heat. Do not stir; for a smooth syrup, leave it alone. Otherwise, you'll end up with a grainy, sandy texture to your syrup.
- In a large mixing bowl, combine your ingredients, whisking with each new addition one at a time.
- Check on your syrup periodically. It can go from golden to burnt in a matter of seconds. Once golden, take off the heat and swirl until you achieve a rich amber color.
- Pour the syrup into your loaf pan or ramekins, distributing evenly.
- Place a kitchen towel in a 13" x 9" pan if you're using a loaf pan for your flan or in an 18" x 13" cake sheet pan with 2" sides for your ramekins.
- Place either your loaf pan or ramekins in the appropriate pan and fill with hot water halfway up the side of your pan. This baking method is also known as a baño Maria.
- Pour your flan mixture through a fine mesh strainer into your chosen vessel, the loaf pan or ramekins. Distributing your mixture evenly among the ramekins, leaving half an inch of space from the top.
- For loaf pan: Place 13" x 9" pan, with the loaf pan in the baño Maria, in the oven. Bake for 1 hour and 15 minutes. With an instant read thermometer, check the temperature; you want your flan to be 180 degrees before removing it from the oven. You may need an additional 15 minutes, depending on your oven. Once you've reached the desired temperature, remove your pan from the oven and let it cool to room temperature in the baño Maria.
- For individual ramekins: Place your large cake sheet pan, with the ramekins in the baño Maria, in the oven. Bake for 30-45 minutes. With an instant read thermometer, check your temperature after 30 minutes; you want your flan to be 180 degrees before removing it from the oven. You may need an additional 15 minutes, depending on your oven. Once you've reached the desired temperature, remove your pan from the oven and let it cool to room temperature in the baño Maria.
- You have reached a stopping point. If you wish, you may cover your loaf pan or ramekins with plastic wrap or aluminum foil once they have reached room temperature and refrigerate until the next day.
- Once cool, trace along the edges with a knife and place a large plate or platter on top of your loaf pan; flip over and gently lift the loaf pan leaving a beautiful flan right side up on your plate or platter. For ramekins, you will trace along the edges and use a small dessert plate to place on top of your flan before flipping and gently lifting your ramekin, leaving a beautiful individual flan right side up.
- Optional garnishes: whipped cream, mint or a small piece of fresh fruit. It is completely up to you!
Notes
Did you make this recipe?
Please let me know how it turned out for you! Leave a comment below, tag @domesticgourmet on Instagram, and hashtag #domesticgourmet.

