Un flan de vainilla perfectamente aterciopelado que, horneado específicamente con atención al detalle, no tendrá bordes revueltos. Las piezas finales serán tan perfectas como el centro.
La tradición familiar de hacer flan, perfeccionada
Hacer flan en mi familia es motivo de orgullo para quien lo hace y lo hace bien. Sin embargo, incluso el mejor de los mejores servía un flan que podría haber sabido un poco más «a huevo», o los trozos finales estaban un poco demasiado revueltos. Nos ha pasado a todos. Es fácil que ocurra cuando haces malabarismos con un fogón lleno de ollas y sartenes mientras te preparas para una reunión familiar.
¿El secreto de un flan suave? Control de la temperatura
Las natillas, como el flan, son delicadas y requieren mucha atención. De lo contrario, pueden pasar de deliciosos a revueltos en cuestión de minutos. La clave para conseguir esa textura ultrasuave y lujosa es hornear a la temperatura adecuada y sacar el flan del horno en el momento justo. Yo confío en un termómetro de lectura instantáneay gracias a un consejo que aprendí de Cook’s Illustratedahora controlo la temperatura interna para evitar el exceso de cocción.
¿Ramequines o molde para pan? Ambos sirven para esta receta
Esta receta se adapta fácilmente, tanto si preparas individuales en ramequines para una cena como si lo haces en un molde grande para servir a toda la familia. Sólo tienes que vigilar la temperatura, y siempre tendrás un postre espectacular.
🧡 Consejo profesional de Domestic Gourmet
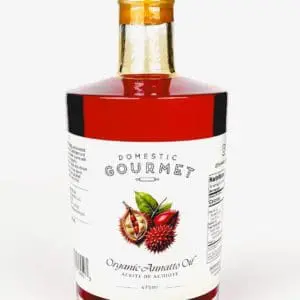
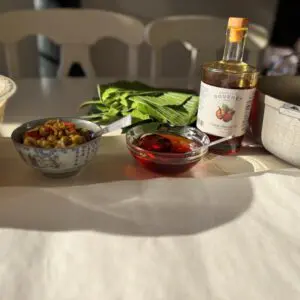
Para un toque dorado y una mayor profundidad de sabor, engrasa ligeramente los moldes o la sartén para pan con Aceite de AchioteEcológico Domestic Gourmet. Añade un sutil toque terroso y crea un bonito contraste de color con el flan cremoso.
¡iBuen provecho!
Seleccionamos de forma independiente todos los productos que presentamos en Domestic Gourmet y es posible que ganemos una comisión de afiliación cuando compres a través de los enlaces de este sitio.
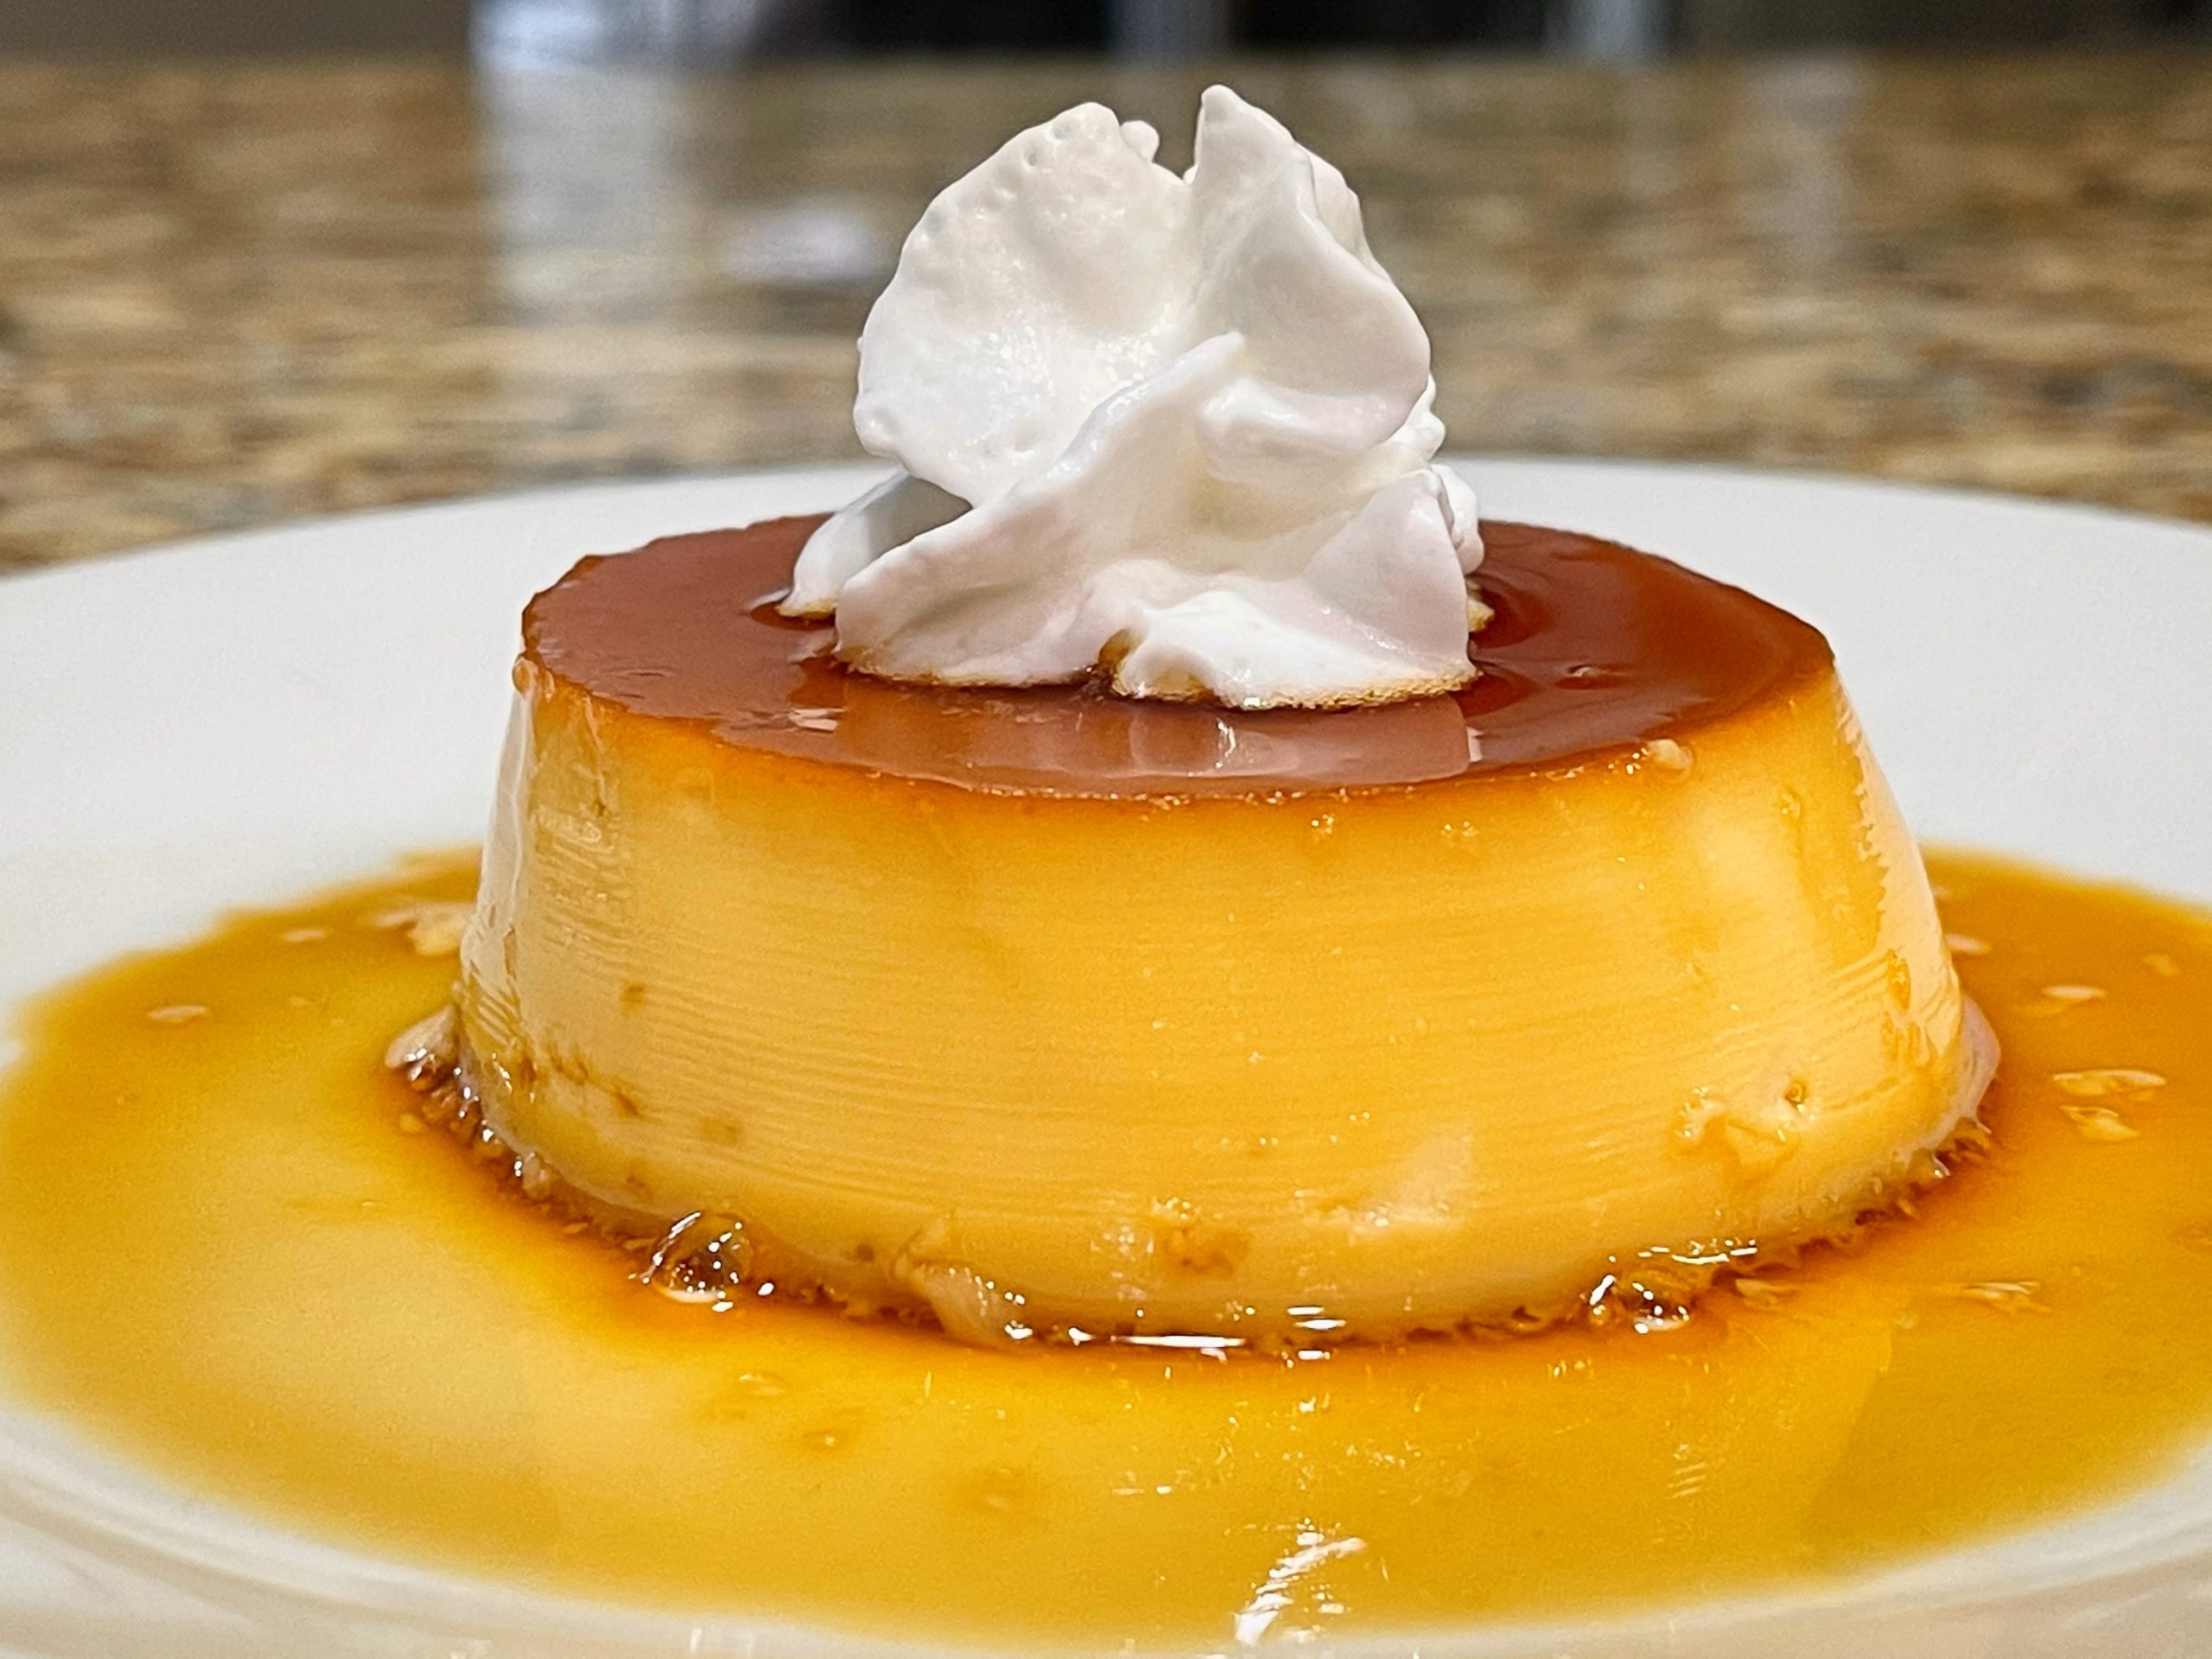
Foolproof Vanilla Flan
Equipment
- 8½" x 4½" loaf pan (can be substituted with 8-10 small ramekins)
- Tea kettle (can be substituted with a small saucepan)
Ingredientes
- ⅓ cup water
- 1 cup granulated sugar
- 2 large eggs Organic free-range eggs will give your flan a more vibrant color.
- 6 large yolks Based on their natural diet, organic free-range yolks can vary in color from rich orange to an almost ruby-red grapefruit.
- 14 oz condensed milk
- 12 oz evaporated milk
- ½ cup whole milk
- 2 tbsp pure vanilla extract
- ½ tsp salt or a pinch
Elaboración paso a paso
- Preheat oven to 300 degrees, turn on your stove to medium-high heat and heat a tea kettle or small saucepan full of water to a simmer.
- Add your water and sugar to a 10" pot and leave to boil over medium-high heat. Do not stir; for a smooth syrup, leave it alone. Otherwise, you'll end up with a grainy, sandy texture to your syrup.
- In a large mixing bowl, combine your ingredients, whisking with each new addition one at a time.
- Check on your syrup periodically. It can go from golden to burnt in a matter of seconds. Once golden, take off the heat and swirl until you achieve a rich amber color.
- Pour the syrup into your loaf pan or ramekins, distributing evenly.
- Place a kitchen towel in a 13" x 9" pan if you're using a loaf pan for your flan or in an 18" x 13" cake sheet pan with 2" sides for your ramekins.
- Place either your loaf pan or ramekins in the appropriate pan and fill with hot water halfway up the side of your pan. This baking method is also known as a baño Maria.
- Pour your flan mixture through a fine mesh strainer into your chosen vessel, the loaf pan or ramekins. Distributing your mixture evenly among the ramekins, leaving half an inch of space from the top.
- For loaf pan: Place 13" x 9" pan, with the loaf pan in the baño Maria, in the oven. Bake for 1 hour and 15 minutes. With an instant read thermometer, check the temperature; you want your flan to be 180 degrees before removing it from the oven. You may need an additional 15 minutes, depending on your oven. Once you've reached the desired temperature, remove your pan from the oven and let it cool to room temperature in the baño Maria.
- For individual ramekins: Place your large cake sheet pan, with the ramekins in the baño Maria, in the oven. Bake for 30-45 minutes. With an instant read thermometer, check your temperature after 30 minutes; you want your flan to be 180 degrees before removing it from the oven. You may need an additional 15 minutes, depending on your oven. Once you've reached the desired temperature, remove your pan from the oven and let it cool to room temperature in the baño Maria.
- You have reached a stopping point. If you wish, you may cover your loaf pan or ramekins with plastic wrap or aluminum foil once they have reached room temperature and refrigerate until the next day.
- Once cool, trace along the edges with a knife and place a large plate or platter on top of your loaf pan; flip over and gently lift the loaf pan leaving a beautiful flan right side up on your plate or platter. For ramekins, you will trace along the edges and use a small dessert plate to place on top of your flan before flipping and gently lifting your ramekin, leaving a beautiful individual flan right side up.
- Optional garnishes: whipped cream, mint or a small piece of fresh fruit. It is completely up to you!
Notas
¿Has hecho esta receta?
Por favor, ¡hazme saber cómo te ha quedado! Deja un comentario a continuación, etiqueta a @domesticgourmet en Instagram y usa el hashtag #domesticgourmet.
Productos más vendidos
-
Aceite de Achiote Ecológico – Aceite de Achiote
$29.95 -
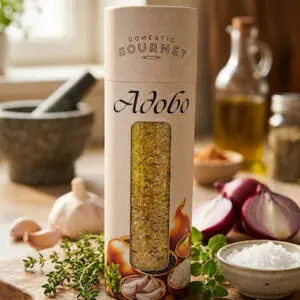
Adobo orgánico Domestic Gourmet
$10.95 -
Sazón Orgánico Gourmet Doméstico
$10.95 -
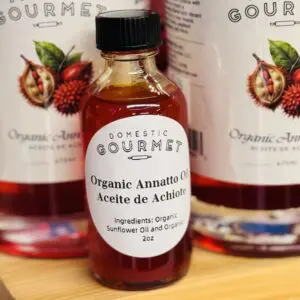
Tamaño de la muestra Aceite de achiote
$3.50 -
Caja regalo Reina de Noche Buena
$50.85 -
Paquete de papel para pasteles de primera calidad e hilo de carnicero.
$11.49 -
Caja Regalo Reina de Nochebuena (Edición Pasteles)
$60.35 -
Papel Para Pasteles – Papel para Envolver Pasteles
$9.49

